How To Fit Door Architrave
A step-by-step guide to fitting architrave to a door surround, using Richard Burbidge mouldings and basic woodworking tools and techniques.
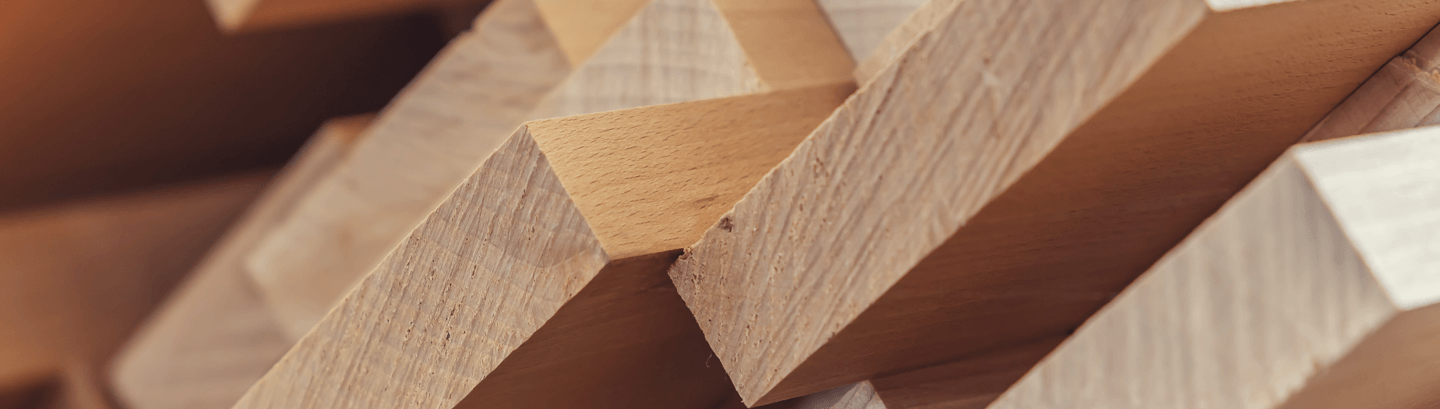
1. Choose your Richard Burbidge moulding
Firstly you’ll need to decide the style you’re going for – we recommend our ogee, torus, or chamfered architrave mouldings for this project. Richard Burbidge mouldings are of the highest quality and can totally transform the look and character of a whole room. In this guide we take you through the steps of fitting pine or primed MDF architrave, it is not recommended for pre-finished architrave. View our full range of mouldings here.
2. Map out the moulding placement onto your door casing
Use a pipe detector before nailing or drilling into any walls. The architrave will need to be set back slightly from the door frame, use a tape measure to draw a mark 6mm from the inner edge of the door casing, across the top and down both sides. Then, use a spirit level to join the marks together, giving you three lines in which the architrave will be aligned.
3. Cut the top architrave to length and apply to the door
Measure the line you have drawn on the top of the door, mark this on the inner edge of the architrave and leave enough room on either end to allow for the mitred cuts. Use a hand saw and mitre box to cut the architrave at a 45 degree angle, ensuring the outer edge is longer than the inner edge. Lightly sand the ends until they are smooth. Apply grab adhesive to the back of the architrave, and fit the architrave into position on the 6mm line above the door, both mitred inside corners should align with the line you have drawn. Once the adhesive has set, hammer in lost head nails, start from the centre and work your way to either end.
4. Cut the side architrave to length and apply to the door
Next, repeat the process from step 3 to both of the side pieces of architrave. Ensure that you mitre the top pieces of the architraves in opposite directions, and the bottom of the architrave is cut straight to allow for a precise fit. Before applying to the door casing, temporarily hold into place to ensure the fit is exact. Then secure into place following the steps detailed on step 3.
5. Add the finishing touches
Once the architrave is applied, use decorators caulk to patch any gaps, cracks, or holes prior to finishing. You have many different options when finishing pine architrave, you can stain for a traditional look, paint for a contemporary finish, or choose to retain the original look of raw pine. These little finishing touches are where you can make the skirting your own, and tie in with your chosen decor. If you decide to stain or leave as it is, we recommend sealing the surface with a varnish or oil. For primed MDF architrave we recommend painting.
6. Share your DIY renovation project
We love seeing how you have transformed your home with Richard Burbidge. Upload a picture of your DIY project to Instagram or Facebook and tag us @richard_burbidge. You can also upload your images to our testimonials page here. We can’t wait to see what you create with Richard Burbidge mouldings!